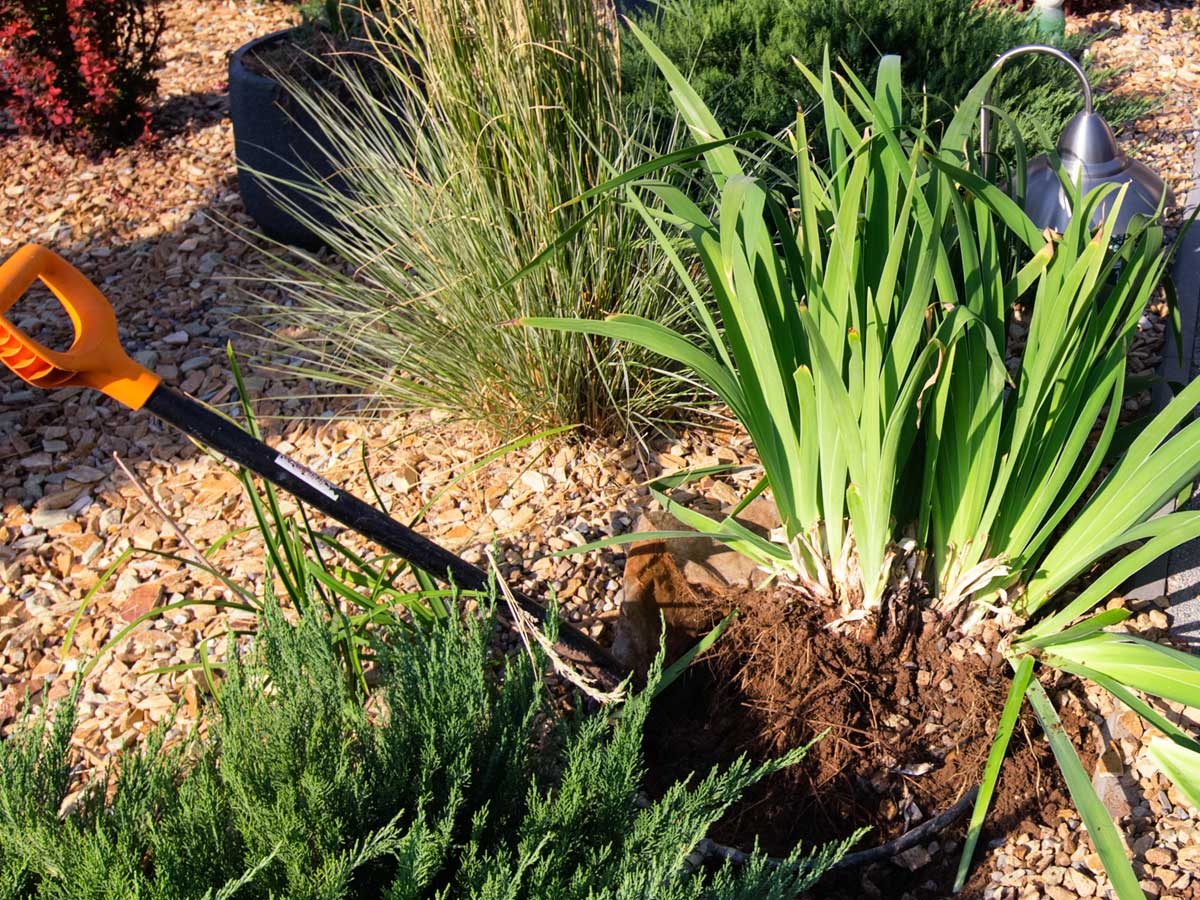
Irises are some of the most stunning flowers you can grow in your garden. With their elegant petals and rainbow of colors, they’re like nature’s own artwork.
But to keep these beauties thriving year after year, a little maintenance is required – specifically, dividing your iris plants periodically.
Don’t worry though, it’s not as daunting as it might sound! In this post, we’ll walk through everything you need to know about when and how to divide your irises to keep them healthy and blooming their best.
Why Divide Iris Plants?
Before we dive into the how-to, let’s talk about why dividing iris is so important. You might be wondering, “If my irises are growing fine, why mess with them?” Well, there are a few good reasons:
- Prevent overcrowding: As iris rhizomes (those thick, horizontal stems at or just below soil level) grow and multiply, clumps can become overcrowded. This leads to competition for nutrients and can reduce flowering.
- Rejuvenate plants: Dividing helps reinvigorate older plants, encouraging better growth and more abundant blooms.
- Control size: If your iris patch is getting a bit too enthusiastic and taking over your garden, division is a great way to keep it in check.
- Propagate new plants: Division is an easy way to get more iris plants for free! You can expand your own garden or share with friends.
- Prevent disease: Overcrowded plants have poor air circulation, which can lead to fungal diseases. Regular division helps prevent these issues.
When to Divide Iris
Timing is everything when it comes to dividing iris. The good news is, that these plants are pretty forgiving, but there is an optimal time that will give you the best results:
Bearded Iris
For the popular bearded iris varieties, the best time to divide is about 6-8 weeks after they finish blooming.
In most regions, this falls somewhere between July and August.
Why this timeframe? It gives the plants enough time to store energy after flowering, but also allows newly divided rhizomes to establish themselves before winter.
Other Iris Types
- Siberian and Japanese Iris: These can be divided in early spring before new growth starts, or in early fall.
- Louisiana Iris: Best divided in late summer to early fall.
- Dutch Iris: These bulbous irises are typically divided in late summer when the foliage has died back.
Signs It’s Time to Divide
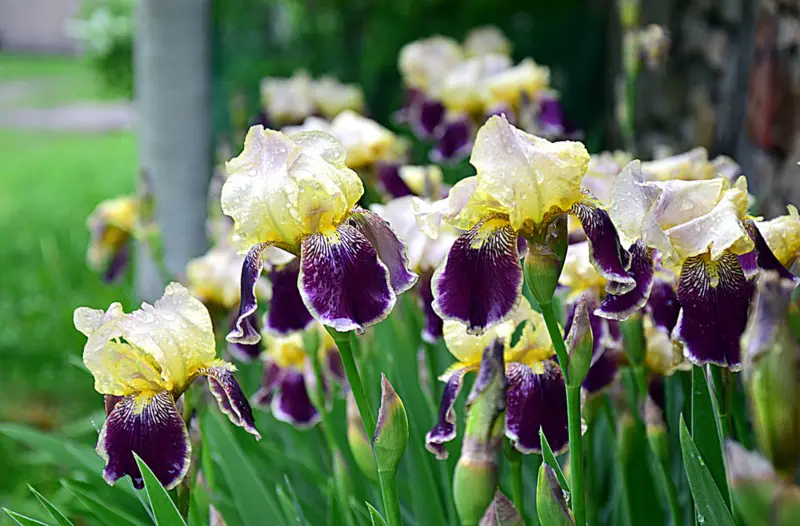
Even if you’re not sure how long it’s been since your last division, your irises will give you some clues that it’s time:
- Decreased flowering: If you notice fewer blooms than in previous years, it might be time to divide.
- Crowded rhizomes: When rhizomes start growing into each other or pushing up out of the soil, that’s a clear sign of overcrowding.
- Center die-out: If the center of a clump looks dead or has stopped producing leaves and flowers, while the outer edges still look healthy, it’s definitely time to divide.
- It’s been 3-5 years: As a general rule, most iris benefit from division every 3-5 years, even if they still seem to be doing well.
How to Divide Iris: A Step-by-Step Guide
Now that we know when to divide, let’s get into the nitty-gritty of how to do it. Don’t worry – it’s easier than you might think!
What You’ll Need:
- Garden fork or spade
- Sharp, clean knife
- Pruning shears
- Bucket of water
- Bleach solution (1 part bleach to 9 parts water) for tool sterilization
Step 1: Prepare the Area
Start by cutting back the iris foliage to about 6 inches tall. This makes the plants easier to handle and reduces water loss while they’re out of the ground.
Step 2: Dig Up the Rhizomes
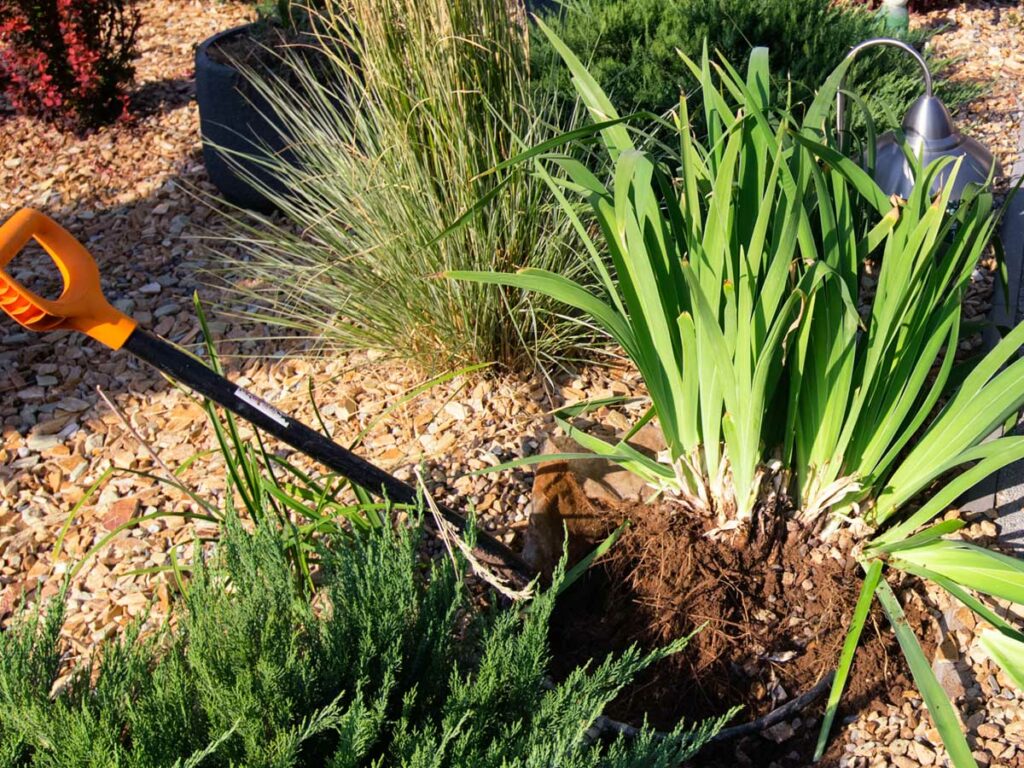
Using your garden fork or spade, carefully dig around the iris clump, starting about 6 inches away from the outer edges. Gently lift the entire clump out of the ground. If the soil is dry, water the area well a day before to make digging easier.
Step 3: Clean and Inspect
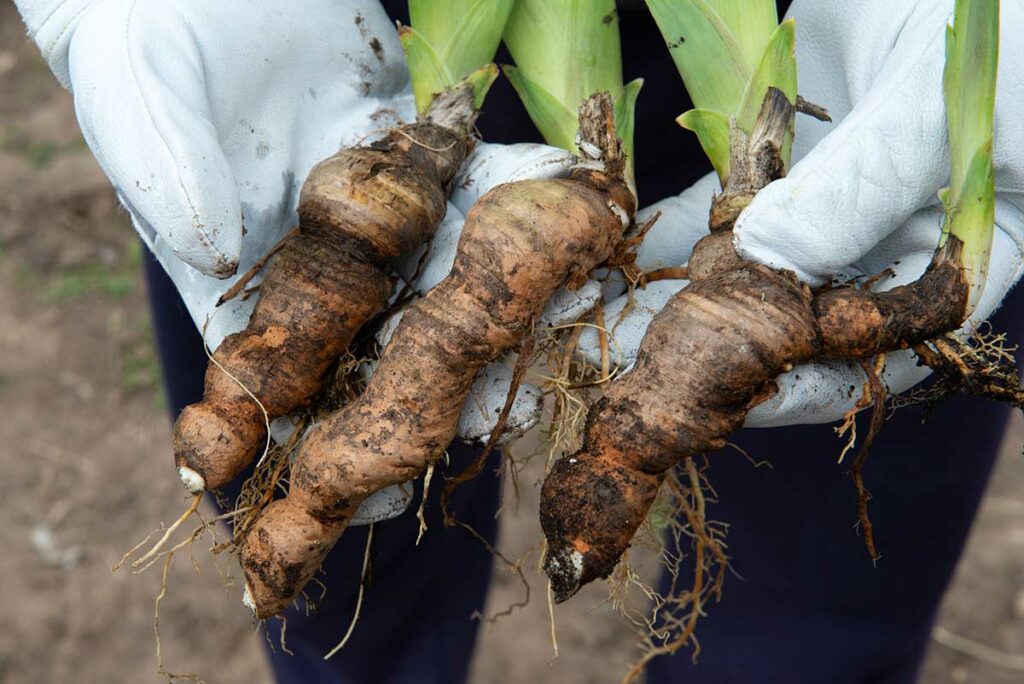
Shake or rinse off excess soil so you can see the rhizomes clearly. This is a good time to inspect for any signs of disease or pest damage. Look out for soft, mushy areas (a sign of rot) or holes that might indicate iris borer activity.
Step 4: Divide the Rhizomes
Here’s where the magic happens! Using your clean, sharp knife, separate the rhizomes. Each division should include:
- A fan of leaves
- A section of healthy rhizome about 3-4 inches long
- Some healthy roots
If the rhizomes separate easily by hand, that’s fine too. Just make sure each division has the elements listed above.
Step 5: Trim and Clean
Trim the leaves to about 4-6 inches long. This reduces water loss while the plant re-establishes. If you notice any damaged or diseased parts, cut them away with your sterilized knife.
Step 6: Optional Soak
Some gardeners like to soak the divided rhizomes in a diluted bleach solution (1 part bleach to 9 parts water) for about 10 minutes. This can help prevent disease, but it’s not strictly necessary if your plants look healthy.
Step 7: Replant
Now it’s time to get those divisions back in the ground! Here’s how:
- Choose a sunny spot with well-draining soil.
- Dig a shallow hole and create a small mound in the center.
- Place the rhizome on the mound with the leaf fan facing the direction you want it to grow.
- Spread the roots down the sides of the mound.
- Cover the roots with soil, but leave the top of the rhizome exposed or just barely covered.
- Space plants about 12-18 inches apart.
- Water well after planting.
Step 8: Care After Dividing
Keep the soil moist but not waterlogged for the first few weeks after replanting. You might not see much top growth right away, but the plants are busy establishing new roots underground.
Tips for Success
- Don’t divide too small: While it’s tempting to create as many new plants as possible, divisions that are too small may struggle to establish. Aim for divisions with at least one fan of leaves and a good chunk of rhizome.
- Discard the center: The oldest part of the rhizome (usually the center of the clump) is often woody and less productive. It’s okay to compost these parts.
- Label your plants: If you’re dividing different varieties, it’s helpful to label them as you go. You might think you’ll remember which is which, but it’s easy to get mixed up!
- Share the wealth: Dividing often results in more plants than you need. This is a great opportunity to share with friends or donate to community gardens.
- Be patient: Divided iris may take a year to settle in and bloom well. Don’t worry if you don’t see flowers the first spring after dividing.
Troubleshooting Common Issues
Even with the best care, sometimes things don’t go as planned. Here are some common issues and how to address them:
- Rot: If you notice any soft, smelly parts on your rhizomes, cut them away with a clean, sharp knife. Let the cut surface dry for a day before replanting.
- Iris borer: These pests tunnel through rhizomes. If you see signs of borer damage, destroy affected parts and consider treating your garden with neem oil or another organic pesticide.
- No blooms after dividing: This is normal for the first year. If plants still don’t bloom in the second year, check that they’re getting enough sun and aren’t planted too deeply.
- Leaf fans fall over: This usually means the rhizome isn’t anchored well. Gently push more soil around the base of the leaves to provide support.
Wrapping Up
Dividing iris might seem like a big task, but it’s really a simple process that pays off in healthier plants and more beautiful blooms. Plus, it’s a great way to expand your garden or share the joy of irises with others. Remember, timing is key – aim for that sweet spot about 6-8 weeks after flowering for most iris types. Don’t be afraid to get your hands dirty and give it a try. Your irises will thank you with vigorous growth and stunning flowers for years to come.


