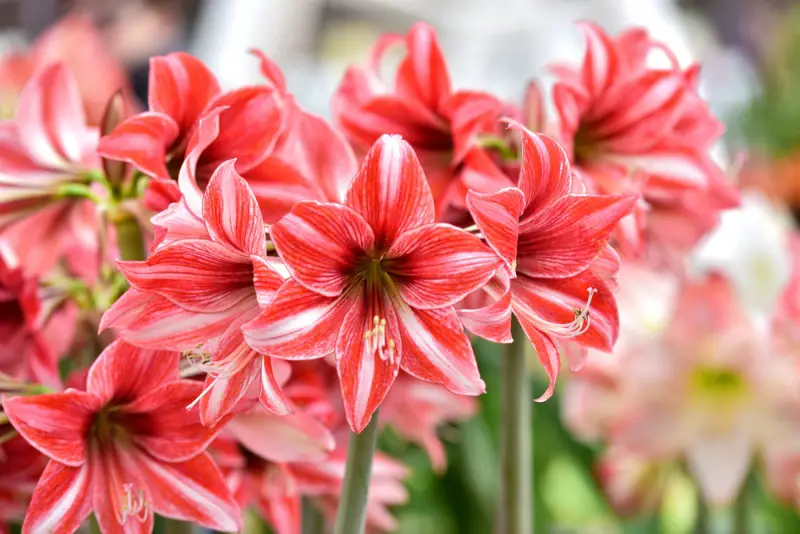
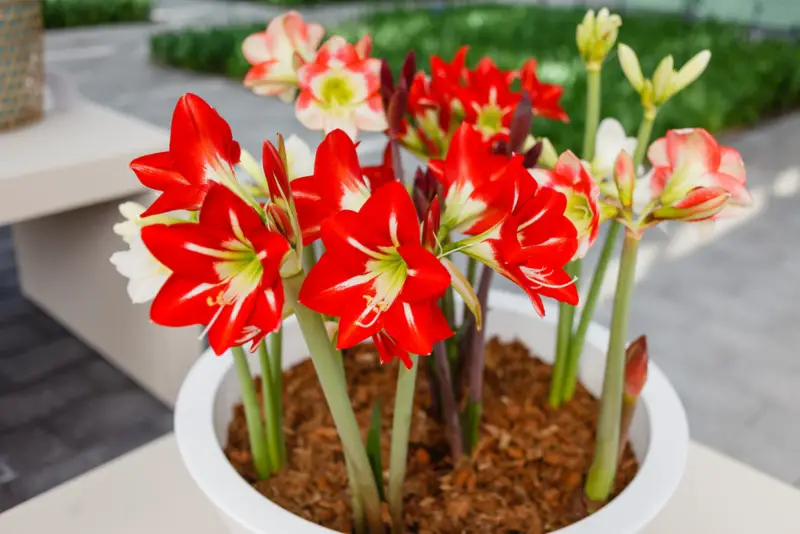
Have you ever marveled at the stunning blooms of your amaryllis, only to wonder if you can enjoy them again next year? Good news – you absolutely can! With a little care and patience, your amaryllis bulb can rebloom year after year, bringing vibrant color to your home during the winter months.
To save your amaryllis bulb for next year’s blooms, gradually reduce watering after flowering, allow the leaves to grow and store energy, then move the bulb to a cool, dark place for 8-10 weeks of dormancy before restarting the growth cycle. This process mimics the plant’s natural life cycle and encourages it to produce those spectacular flowers once again.
By following a few simple steps, you can transform your amaryllis from a one-time holiday decoration into a cherished, long-lasting part of your indoor garden. Ready to learn how to keep your amaryllis coming back year after year? Let’s dive into the details of caring for these beautiful bulbs throughout their growing cycle.
Understanding Amaryllis Bulb Care
Caring for amaryllis bulbs is easier than you might think. These stunning flowers can bloom year after year with the right attention.
After your amaryllis finishes flowering, don’t discard it! The bulb still has plenty of life left. Keep watering and feeding the plant regularly.
Let the leaves grow and soak up sunlight. This helps the bulb store energy for next year’s blooms. Trim off any yellow or dying leaves as needed.
When fall arrives, it’s time for dormancy. Gradually reduce watering and move the plant to a cool, dark place. A basement or garage works well.
Leave the bulb undisturbed for 8-10 weeks. This rest period is crucial for future flowering.
After dormancy, bring your amaryllis back into a warm, sunny spot. Resume watering and watch for new growth to emerge.
Remember, patience is key. With proper care, your amaryllis can delight you with beautiful blooms for many seasons to come.
Steps to Save Your Amaryllis Bulb for Next Year

Saving your amaryllis bulb for next year’s blooms requires proper care and attention throughout the seasons. With the right steps, you can enjoy beautiful flowers year after year.
Step 1: Remove the Flowers and Stalks
Once your amaryllis flowers have faded, it’s time to remove them. Cut off the spent blooms close to the top of the stalk. Don’t remove the entire stalk yet – allow it to yellow and wither naturally.
When the stalk turns yellow, cut it off about 2 inches above the bulb. Use clean, sharp scissors or pruning shears to make a clean cut. This prevents disease and allows the plant to focus its energy on the bulb and leaves.
Step 2: Care for the Foliage
The leaves are crucial for the bulb’s health and future blooms. Keep your amaryllis in a sunny spot, like a bright windowsill. Rotate the pot regularly to ensure even growth.
Allow the leaves to grow and thrive throughout spring and summer. They’ll absorb sunlight and produce energy for the bulb. Don’t cut them off, even if they look a bit untidy.
Water your plant when the top inch of soil feels dry. Avoid overwatering, as this can lead to bulb rot.
Step 3: Fertilize and Monitor Watering
Feed your amaryllis every 2-4 weeks with a balanced, water-soluble fertilizer. Use a 10-10-10 or 20-20-20 formula at half strength. This provides essential nutrients for leaf growth and bulb development.
Continue regular watering, but be careful not to overwater. Allow the soil to dry slightly between waterings. Good drainage is essential, so make sure your pot has drainage holes.
Check the leaves regularly for pests or diseases. If you spot any issues, treat them promptly to keep your plant healthy.
Step 4: Move the Plant Outdoors
When the danger of frost has passed, you can move your amaryllis outside. Choose a spot with partial shade to full sun. Gradually acclimate the plant to outdoor conditions over a week or two.
Place the pot in a sheltered area at first, then slowly move it to its final location. This prevents shock and sunburn. Sink the pot into the ground up to its rim to keep the roots cool.
Continue fertilizing and watering as before. The outdoor environment can help strengthen the plant and promote better growth.
Step 5: Induce Dormancy
In late summer or early fall, begin preparing your amaryllis for dormancy. Gradually reduce watering and stop fertilizing. This signals to the plant that it’s time to rest.
When the leaves start to yellow, cut them back to about 2 inches above the bulb. Move the pot to a cool, dark place like a basement or garage. Ideal temperatures are between 50-60°F (10-15°C).
Stop watering completely. The bulb needs this dry period to reset its growth cycle. Leave it undisturbed for 8-10 weeks.
Step 6: Repot the Bulb
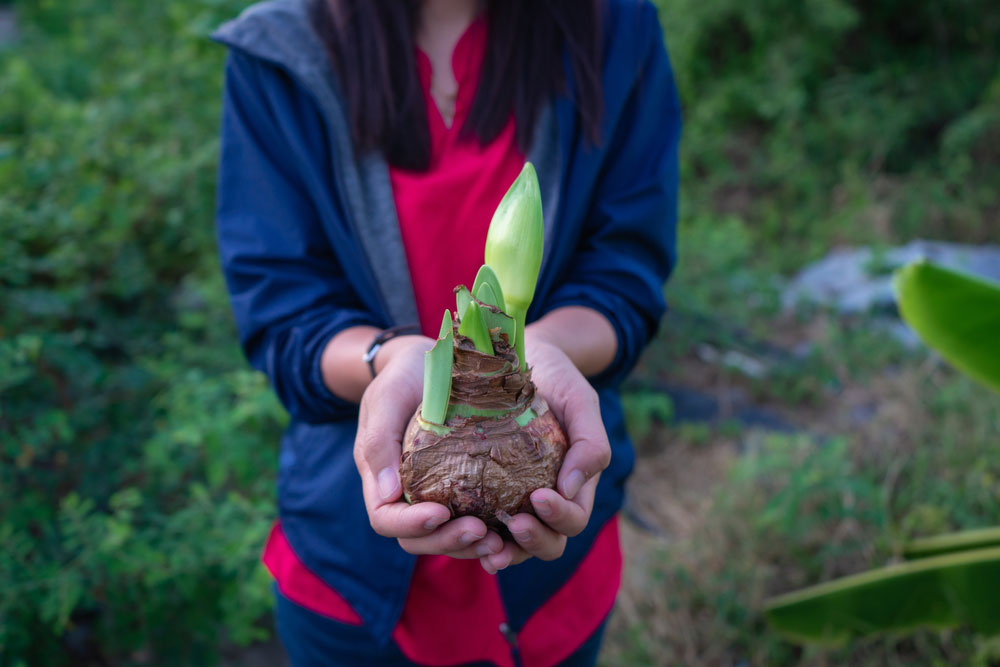
After the dormancy period, it’s time to wake up your amaryllis. Remove the bulb from its old pot and inspect it. Discard any soft or rotten parts.
Choose a new pot that’s about 2 inches wider than the bulb. Use fresh, well-draining potting mix. Plant the bulb with the top third above the soil line.
Water sparingly at first, then increase as you see new growth. Place the pot in a warm, bright spot. Within a few weeks, you should see a new flower stalk emerging.
Tips for Optimal Care

Proper care is essential for your amaryllis bulb to thrive and rebloom. By following these key tips, you’ll give your plant the best chance of success year after year.
Choose the Right Location
Place your amaryllis in a spot with bright, indirect sunlight. A south-facing window is ideal, but be careful of intense afternoon sun that can scorch the leaves. During the growing season, maintain temperatures between 70-75°F (21-24°C).
In summer, you can move the pot outdoors to a partially shaded area. This allows the plant to soak up natural light and warmth. Bring it back inside before the first frost in fall.
Remember to rotate the pot every few days. This ensures all sides of the plant receive equal light exposure, promoting even growth.
Monitor Watering and Humidity
Water your amaryllis thoroughly when the top inch of soil feels dry. Allow excess water to drain completely – soggy soil can lead to root rot. During active growth, you may need to water 2-3 times per week.
Reduce watering gradually as leaves start to yellow in late summer. This signals the beginning of the dormancy period. Stop watering completely once all foliage has died back.
Amaryllis prefer moderate humidity. If your home is dry, place a tray of pebbles and water near the plant. Mist the leaves occasionally, but avoid getting water on the neck of the bulb.
Provide Occasional Fertilizer

Feed your amaryllis every 2-4 weeks during the growing season. Use a balanced, water-soluble fertilizer diluted to half strength. Apply after watering to prevent root burn.
Stop fertilizing about 6-8 weeks before you want the plant to enter dormancy. This is typically in August or September for most regions.
When you’re ready to initiate blooming again, resume fertilizing once new growth appears. A high-phosphorus fertilizer can encourage more abundant flowering.
Remember to flush the soil with plain water every few months. This helps prevent salt buildup from fertilizers.
Conclusion
Saving your amaryllis bulb for next year’s blooms is a rewarding process. With proper care, you can enjoy these stunning flowers year after year.
Remember to gradually reduce watering after the blooming period ends. Allow the leaves to remain intact, as they’re crucial for energy storage.
Move your amaryllis to a cool, dark place for its dormancy period. This typically lasts 8-10 weeks.
When you’re ready to restart the growth cycle, reintroduce water and light exposure. Place the bulb in a sunny location and water regularly.
By following these steps, you’ll give your amaryllis the best chance to produce beautiful blooms next season. With patience and attention, you can look forward to vibrant flowers gracing your home once again.


