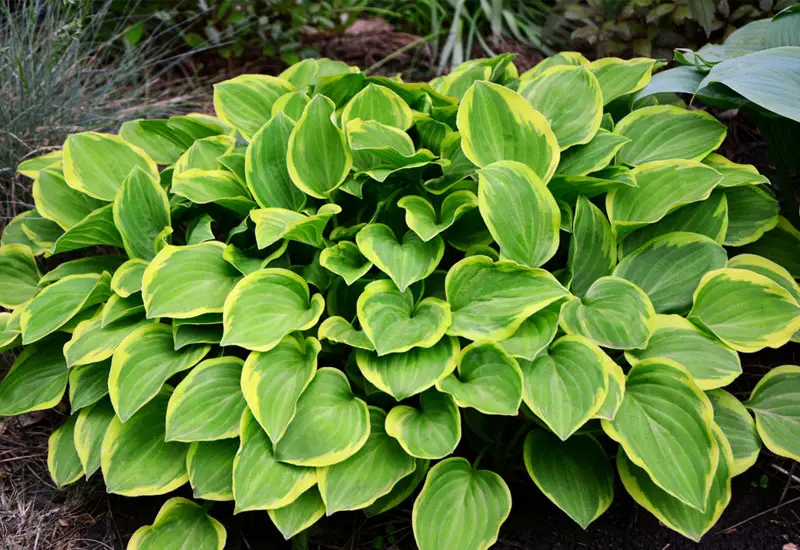
In this video, Chris Alexander from HostasDirect is going to walk you through the three Ds of dividing Hostas. The three D’s include digging, de-dirting it, and dividing it. In the video, he’ll be dividing a wolverine Hosta that is getting very large as it is seven years old. During the process, Chris uses several tools. These include:
• A pre-sterilized shovel and a knife
• A small swimming pool or bucket filled with collected water or rainwater
Here’s how he goes about dividing the hosta:
Step 1: Dig It
1. With the sterilized shovel, dig into the soil around the perimeter of the plant, making sure not to cut too close to the roots. Continue digging around the entire perimeter of the plant. Make sure to wedge the soil a little after you’ve stuck the shovel into it. Once wedged, move the shovel around to loosen it enough to pull up the entire plant later.
2. Once you’ve done a full circle around the hosta, if you’ve dug enough and moved the shovel around enough, the hosta should rise a bit up out of the soil.
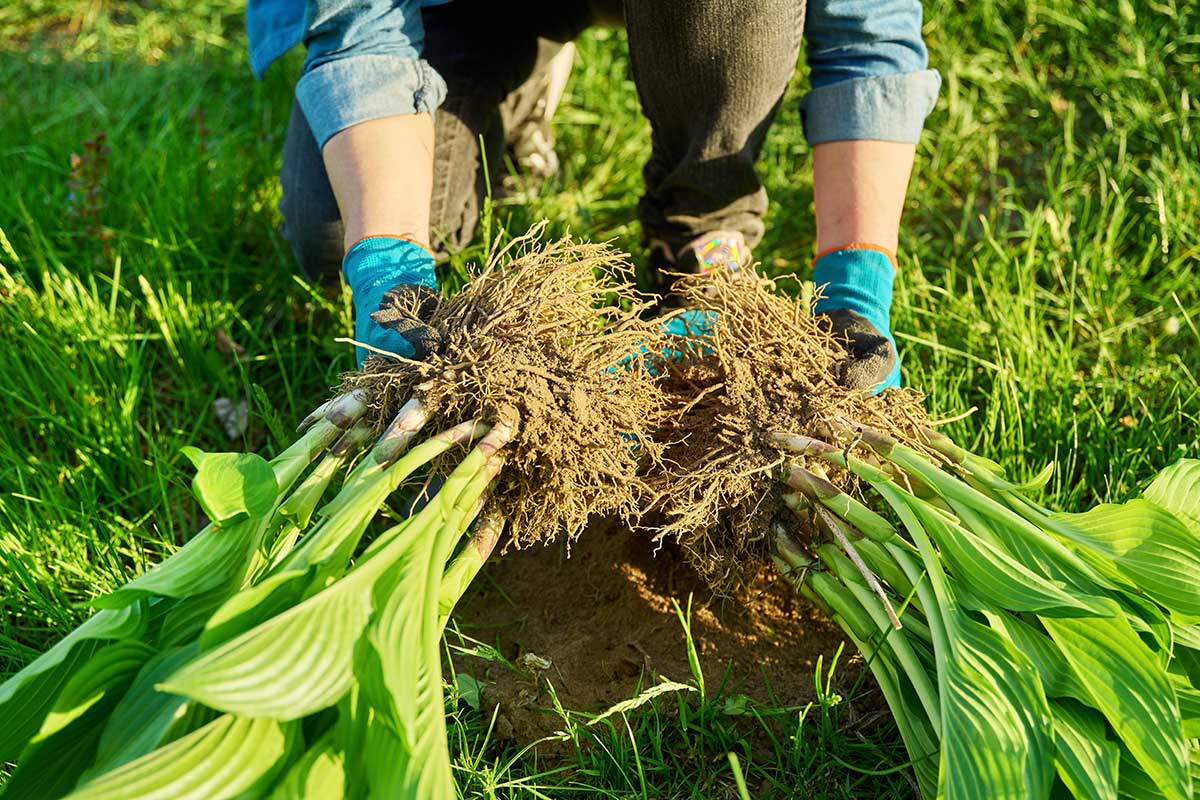
3. Ideally, after it’s been leveraged upwards enough, you should be able to remove the plant in one solid clump. Grab the plant by its shoots and pull upwards after prying it upwards.
Step 2: De-Dirt It
There are a few ways to do this step; each may depend on the state of the soil.
1. If there’s dry soil around the roots of the hosta, you can use a blunt implement like the previously used shovel to tap the roots in order to shake up soil debris.
2. If the soil is wet or clay-like, then you’ll need to use some water in order to remove the leftover soil from the roots. Simply dip the roots into the water and work the liquid into their surfaces; this should loosen the excess soil and cause it to fall off into the water. You can also use a hose for this step. Dependent on the time of year, you may see some hosta buds forming.
Step 3: Divide It
1. Observe the hosta. You’ll notice the individual shoots have their own individual roots; it’s at these points that you can do the dividing.
2. With your thumbs and finger, press deep around these divisions so that you gradually pull the hostas apart. Do this slowly so that you don’t actually damage the plant. You can wiggle the plant around as you pull it apart in order to make it come loose easier.
3. If you have a hosta that is difficult to split because of its size, you can use the knife to knick the hosta so that it’s easier to split it along the divisions. Remember, that you should use a pre-sterilized knife and shovel for this.
After these steps, all you’ll have to do is replant the newly divided hosta. You’ll just have to ensure that there is enough space for the roots to grow and expand naturally. It’s a good idea to leave plenty of room while planting so that the growth isn’t stunted. Pat the soil down, and you’re done!
For more information on growing beautiful and thriving Hosta, see our growing guide for tips on growing and caring for Hostas.

