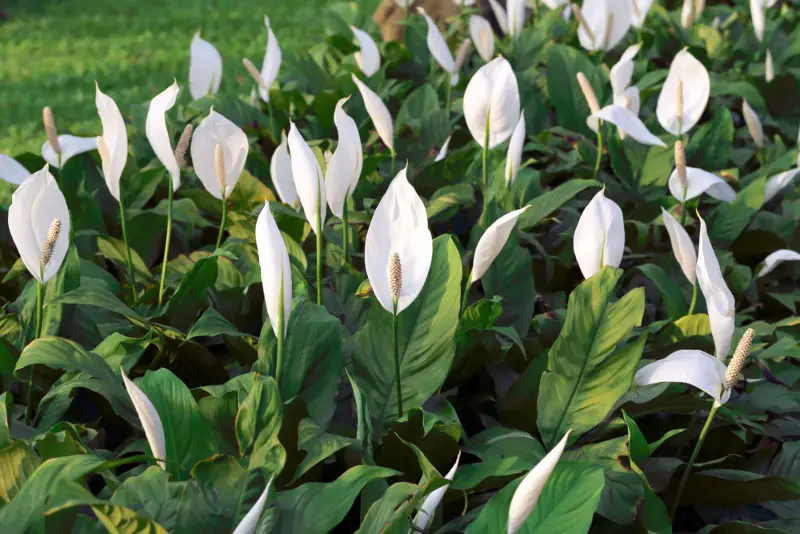
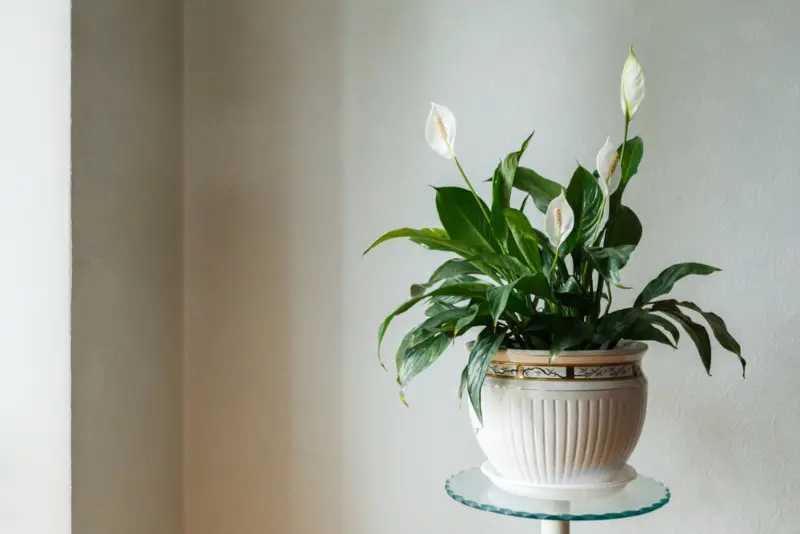
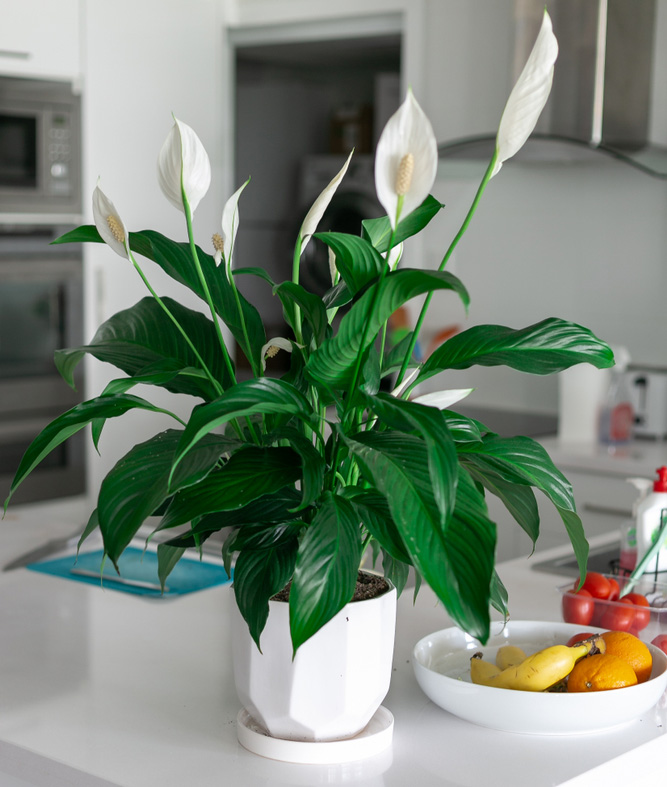
Peace lilies are popular houseplants known for their elegant white flowers and glossy green leaves. However, these beautiful plants sometimes struggle to thrive in indoor environments.
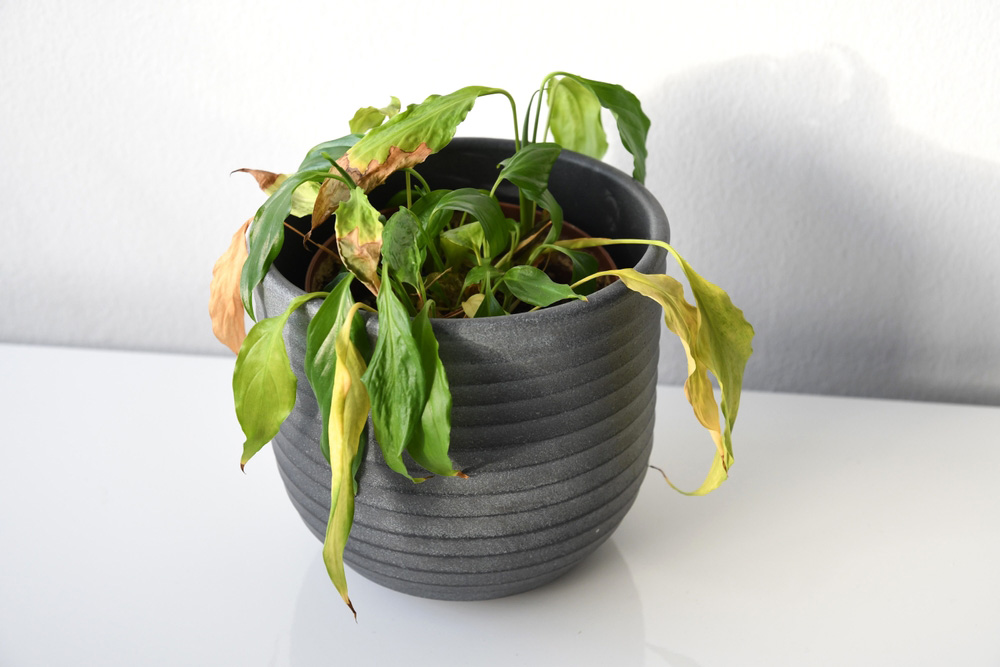
When your peace lily’s leaves start wilting, turning yellow, or developing brown tips, it’s usually trying to tell you something is wrong with its care routine.
Many peace lily problems stem from simple issues like improper watering, poor lighting, or low humidity. The good news is that Spathiphyllum plants are quite resilient, and most problems can be fixed with some basic adjustments.
You can usually nurse your struggling plant back to health by identifying what’s causing the issue and making the necessary changes to your care routine.
1. Providing too much direct sunlight
Peace lilies are forest floor plants that naturally grow in shady spots. When you place them in direct sunlight, their leaves can get scorched and develop brown spots.
Window light might seem gentle, but it can still be too intense for these shade-loving plants. Even though the window filters some sunlight, the direct rays can damage the delicate leaves.
You might notice your peace lily wilting dramatically when exposed to too much sun. This is its way of trying to protect itself from moisture loss and sun damage.
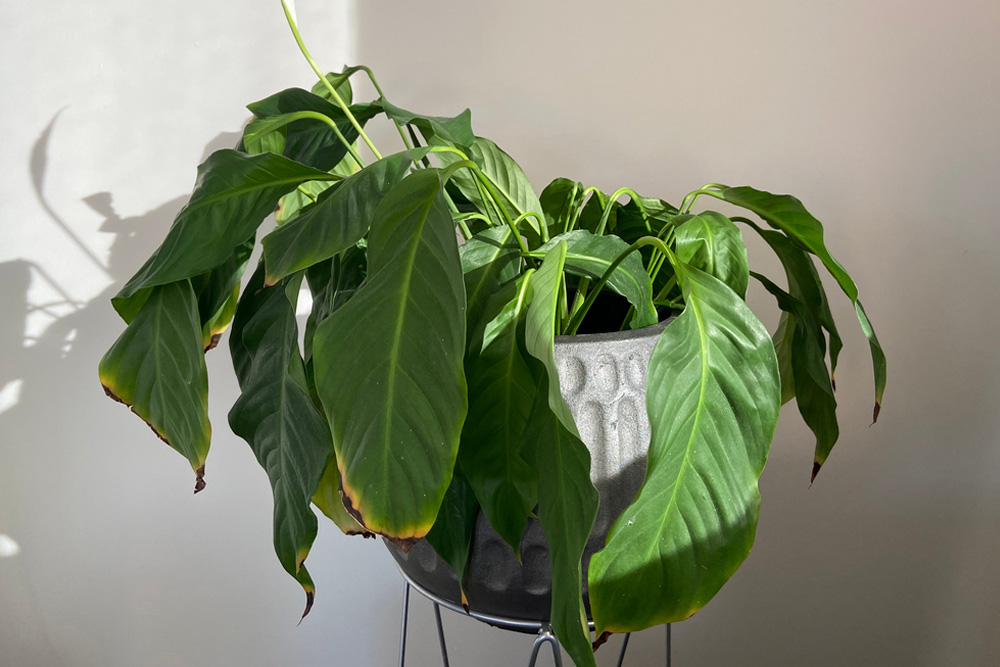
If your plant has brown, crispy edges or yellow patches on leaves, it’s probably getting too much direct light. These symptoms appear when the plant is stressed from excessive sun exposure.
To fix this problem, move your peace lily to a spot with bright, indirect light. A north or east-facing window is usually ideal, or place it a few feet away from a south or west-facing window.
You can also filter intense light by using sheer curtains or blinds. This creates the dappled light conditions that peace lilies love in their natural habitat.
Remember to check your plant regularly after moving it. Peace lilies are good communicators – they’ll perk up quickly when they’re in the right spot!
2. Keeping the soil too dry
Peace lilies (Spathiphyllum) love moisture and will quickly show signs of distress if the soil becomes too dry. The most obvious sign is drooping leaves that hang limply from the stems.
You might notice your plant recovering quickly after watering, only to droop again a few days later. This repeated wilting stresses the plant and can lead to brown leaf tips and edges.
Peace lilies need consistently moist soil to thrive. Unlike some houseplants that prefer to dry out between waterings, these tropical beauties want regular moisture.
How to check soil moisture: Push your finger about an inch into the soil. If it feels dry at this depth, it’s time to water your peace lily.
A good watering schedule for most homes is once every 5-7 days, but this varies based on temperature, humidity, and pot size. Your plant will need more frequent watering in warmer, drier conditions.
Try using room temperature water, as cold water can shock the roots. Water thoroughly until it runs from the drainage holes, then empty the saucer so the plant isn’t sitting in water.
3. Overwatering
Peace lilies need just the right amount of water to thrive. While they like moisture, giving them too much water can cause serious problems.
Signs of overwatering include yellowing leaves, brown leaf tips, and wilting even when the soil is wet. You might also notice a musty smell coming from the soil, which could mean root rot has started.
Root rot happens when roots sit in water too long. When roots can’t get enough air, they start to rot and can’t absorb water or nutrients properly.
To fix an overwatered peace lily, first check your watering routine. You should only water when the top inch of soil feels dry to the touch. This usually means watering once a week, but it depends on your home’s conditions.
Make sure your pot has drainage holes so excess water can escape. If your plant is severely overwatered, you might need to repot it in fresh, well-draining soil after trimming away any rotted roots.
Try the finger test before watering. Stick your finger about an inch into the soil – if it feels moist, wait a few more days before watering again. Your peace lily will actually droop when it needs water, which is a helpful signal.
Remember that peace lilies need less water in winter when growth slows down. Adjust your watering schedule with the seasons for the healthiest plant.
4. Using inadequate lighting conditions
Peace lilies often struggle because of lighting issues. While these plants can survive in low light, they won’t bloom without enough brightness.
Too little light causes weak growth and prevents flowering. Your peace lily needs bright, indirect light to produce those gorgeous white blooms.
On the flip side, direct sunlight can harm your plant. Look for brown spots on the leaves – this is often a sign of sunburn from too much direct sun.
The perfect spot for your peace lily is near a north or east-facing window. These locations provide gentle morning light without the harsh afternoon rays that can damage the leaves.
If you notice your plant leaning toward a light source, rotate it occasionally. This ensures all sides get equal light and helps maintain a balanced shape.
Consider using sheer curtains if your only option is a bright south or west window. They filter the intense light and protect your peace lily from burning.
5. Subjecting the plant to cold drafts
Peace lilies are tropical plants that hate cold air. When placed near drafty windows or doors during winter, they often start to wilt and turn yellow.
You might notice the leaf edges turning brown first. This happens because peace lilies prefer warm temperatures between 65-85°F (18-29°C).
Air conditioner vents can also harm your plant. Cold air blowing directly on the leaves damages the tissue and stresses the plant.
To protect your peace lily, move it away from windows, doors, and vents. Check for hidden drafts by holding a thin piece of paper near your plant – if it moves, you’ve found a draft source.
Try placing your peace lily in a warmer spot in your home. Bathrooms and kitchens often work well since they maintain higher humidity and warmth.
In winter, keep your peace lily away from cold windowsills where temperatures can drop at night. Even a thick curtain can help create a buffer zone between your plant and a cold window.
6. Neglecting to repot when needed
Peace lilies need new homes as they grow. One clear sign your plant needs repotting is roots poking out of the drainage holes or spilling over the pot’s edge.
Another warning sign is soil that has become hard and crumbly. This means the soil has lost its nutrients and can’t support your plant anymore.
When your peace lily grows too large for its container, it becomes root-bound. The roots form a tight mass with little room for soil or water, making it hard for the plant to get what it needs.
Root damage can happen when a plant stays too long in one pot. With damaged roots, your peace lily can’t take up enough water to support all its leaves, causing wilting even with proper watering.
How to repot your peace lily: Choose a pot 1-2 inches larger than the current one. Carefully remove the plant, loosen the root ball gently, and place it in fresh potting soil. Water thoroughly after repotting.
Most peace lilies need repotting every 1-2 years. Mark your calendar to check your plant’s roots annually in spring to see if it’s time for a new home.
7. Exposing plants to low temperatures
Peace lilies don’t do well when they get too cold. These tropical plants prefer warm conditions between 65-85°F. When exposed to temperatures below 60°F, they can quickly develop problems.
Cold temperatures can cause your peace lily’s leaves to turn black. This happens because the cold damages the plant’s cells, leading to tissue death. You might notice this blackening starting at the leaf tips and edges.
If your peace lily is near a drafty window or door during winter, consider moving it. Cold air streams can stress your plant even if the rest of your room seems warm enough.
Avoid placing your peace lily near air conditioning vents. The cold air blowing directly on the plant can cause temperature stress similar to winter drafts.
Remember that nighttime temperatures can drop significantly. Even if your home is warm during the day, check that your peace lily isn’t getting too cold overnight.
When transporting your peace lily, protect it from cold exposure. Even a brief trip from the store to your car in cold weather can damage the plant if it’s not properly wrapped.
To help your cold-damaged peace lily recover, move it to a warmer spot away from drafts. Trim off severely blackened leaves, as these won’t recover. Make sure to maintain consistent watering, but don’t overwater trying to revive it.
8. Not providing bright indirect light
Peace lilies need the right amount of light to grow well. Many people think these plants can thrive in dark corners, but this isn’t true.
Your peace lily needs bright, indirect light to be healthy and bloom. Without enough light, the plant won’t have the energy it needs to produce those beautiful white flowers.
If your plant is inside near a window, it’s getting filtered light which is perfect. The window naturally blocks some of the sun’s intense rays, creating that ideal bright indirect light peace lilies love.
You can tell if your peace lily isn’t getting enough light when it stops blooming or grows very slowly. The leaves might also look darker green than usual as the plant tries to capture more light.
Try moving your peace lily to a spot near a north or east-facing window. These locations usually provide perfect bright indirect light without the harsh afternoon sun that can burn the leaves.
If you don’t have good natural light, consider using a grow light positioned about 12 inches above your plant for 10-12 hours daily. This can substitute for natural light and help your peace lily thrive.
Remember to rotate your plant occasionally so all sides get equal light exposure. This helps it grow evenly instead of leaning toward the light source.

